Chapters
Browse all chapters
Getting started
Editing
Site & domains
Billing & account
AI
FAQ
Blog
The blog is for news and articles you publish over time. Posts use the same editor you know from pages. The shop has its own chapter.
Write a blog post
- Open Blog → Posts and press Write post (or Write post on the dashboard).
- Type a Post title; the slug fills itself. Press Create.
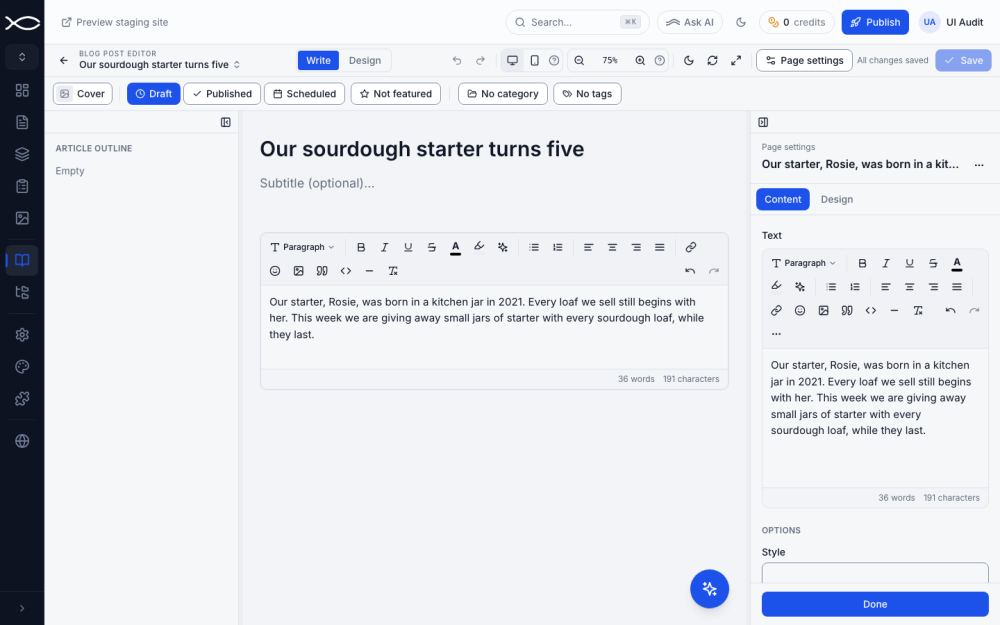
- The post opens in Write view, laid out like an article: title, optional subtitle, then the body.
- Click the + on the line to insert a Paragraph, Heading, Image, Quote, List or Embed. Type straight into it; the toolbar has the usual formatting plus highlight and text effects.
- Use the bar above the article to set the details (table below).
- Press Save, then publish.
| Bar button | What it sets |
|---|---|
| Cover | The cover image shown on the post and in blog lists. Do not repeat it in the body |
| Draft / Published / Scheduled | Draft saves without publishing; Published is visible at once; Scheduled asks for a Publish date & time and goes live then |
| Featured | Marks the post as featured, for lists that highlight it |
| Category | One or more blog categories |
| Tags | Type to search, or create a new tag on the spot |
Design view shows the same post as sections, so you can add any component (a gallery, a call to action). A post built from custom sections says Custom section — edit in Design. Page settings → SEO works as for pages.
Manage posts and categories
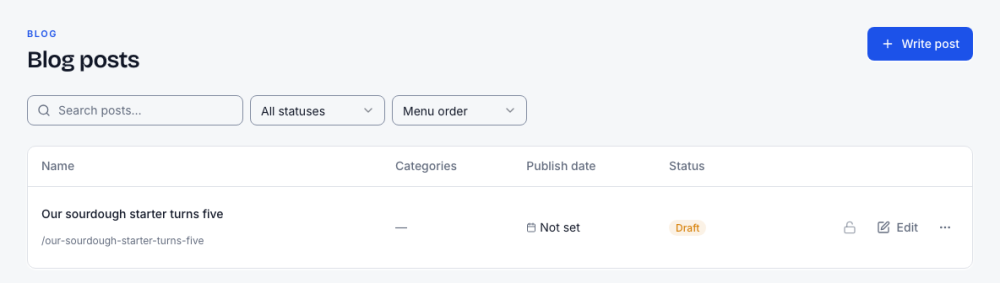
- Filter by status (Published, Scheduled, Draft, Archived), category or tag, and sort by date or title.
- Each row has the write-protection lock, Edit and a ⋯ menu (duplicate, delete and more).
- Blog → Categories creates categories and nests them. Each category gets its own address, built from its slug.
- The blog list page itself is Blog Index Page in Pages; the layout used for every post is in Pages → Template.
Blog categories
Categories group related posts so readers can browse them. Manage them in Blog → Categories; pick a post's categories in the bar above the post in the editor.
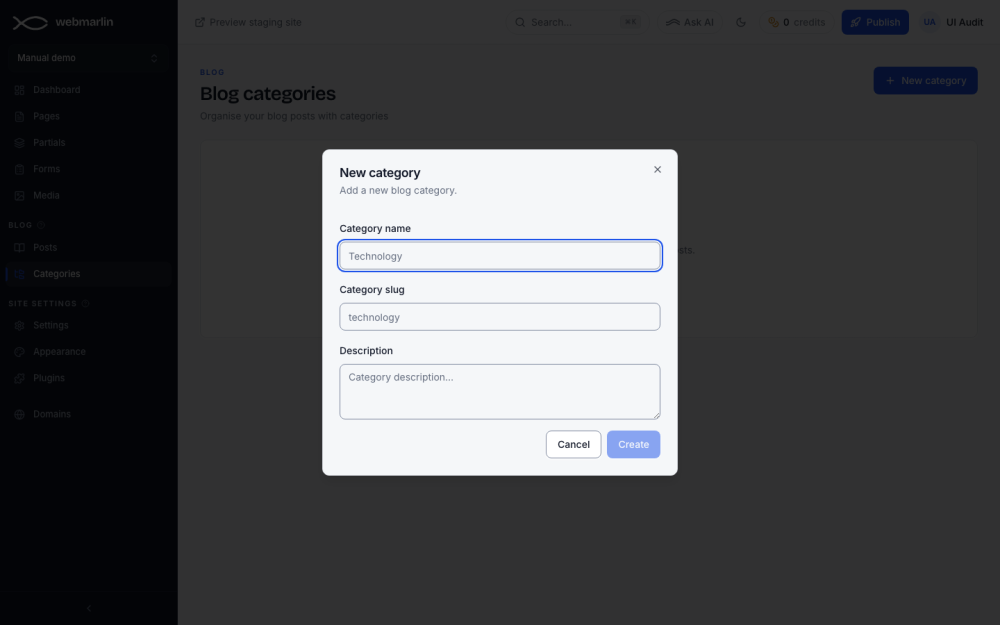
- Press New category.
- Type the Category name. The Category slug fills itself (Cakes becomes
/cakes); change it if you like. - Add an optional Description and press Create.
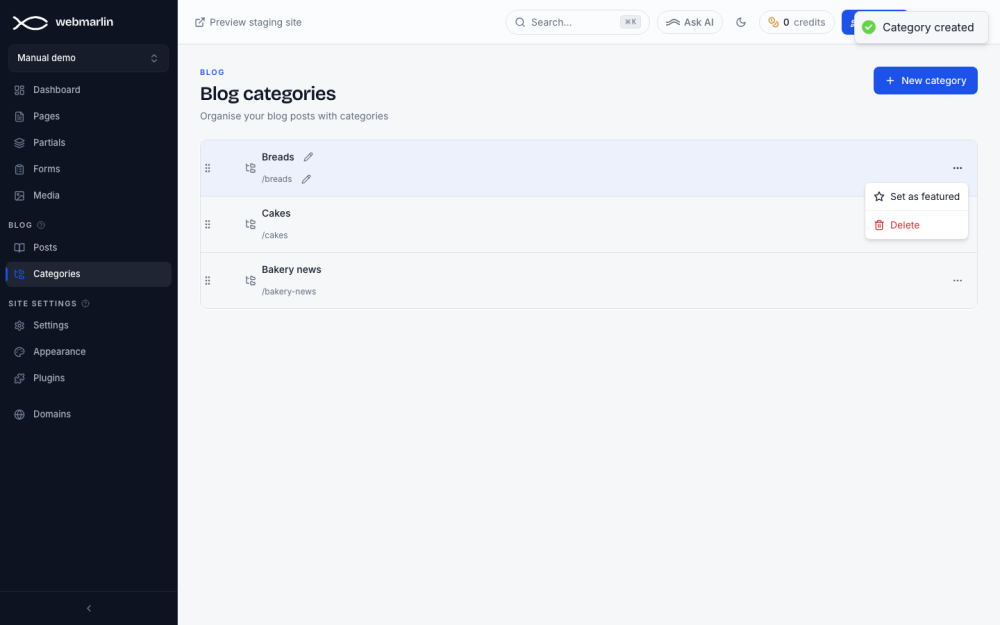
- Click the pencil next to a name or slug to rename it in place.
- Drag the grip on the left to reorder categories, or drop one onto another to nest it.
- The ⋯ menu has Set as featured and Delete. Deleting cannot be undone.