

Chapters
Browse all chapters
Getting started
- Getting started
- Finding your way around
- Real-world walkthroughs
Editing
Site & domains
Billing & account
AI
FAQ
Help › Getting started
Getting started
A new website takes four short steps: name it, pick a plan, pick a template, and describe your business. Webmarlin then builds a ready-to-edit site with Home, About, Services, Pricing, Contact and FAQ pages already written.
Create your account
- Open the console and choose Create an account, or Continue with Google.
- If you signed up with email, open the verification email and click the link. The console unlocks by itself once you verify; Resend verification email sends a fresh link.
- You land on All websites. Press New website to start the wizard.
Step 1: Create
Give the site a name, a subdomain and, optionally, an industry. The industry picks sample content that fits your business; you can change it later.
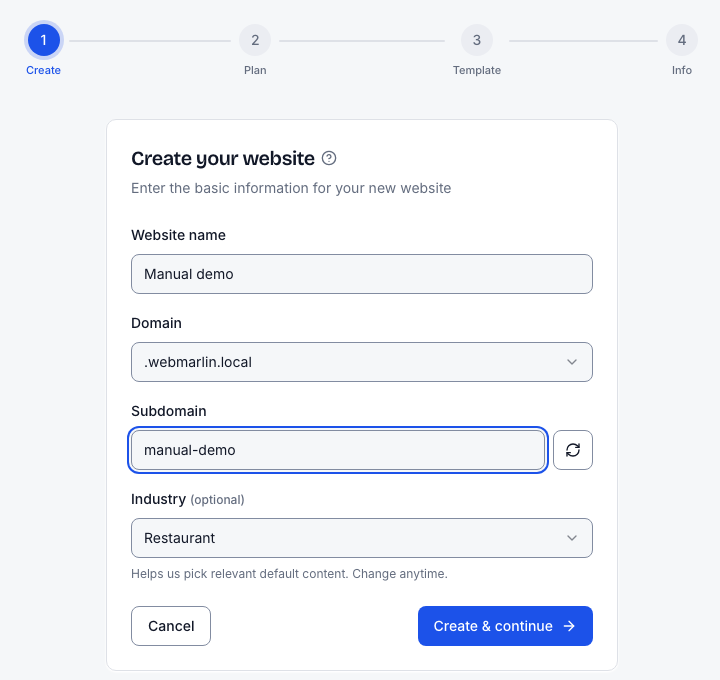
- Website name is shown in the header, the browser tab and search results.
- Subdomain is your free address (for example
corner-bakery.webmarlin.com). The refresh button suggests a free one. - Industry is optional. There is no "Bakery" entry; a bakery picks Restaurant.
Step 2: Plan
Choose a plan. Starter is free; paid plans add pages, blog posts and storage and can be billed monthly or yearly.
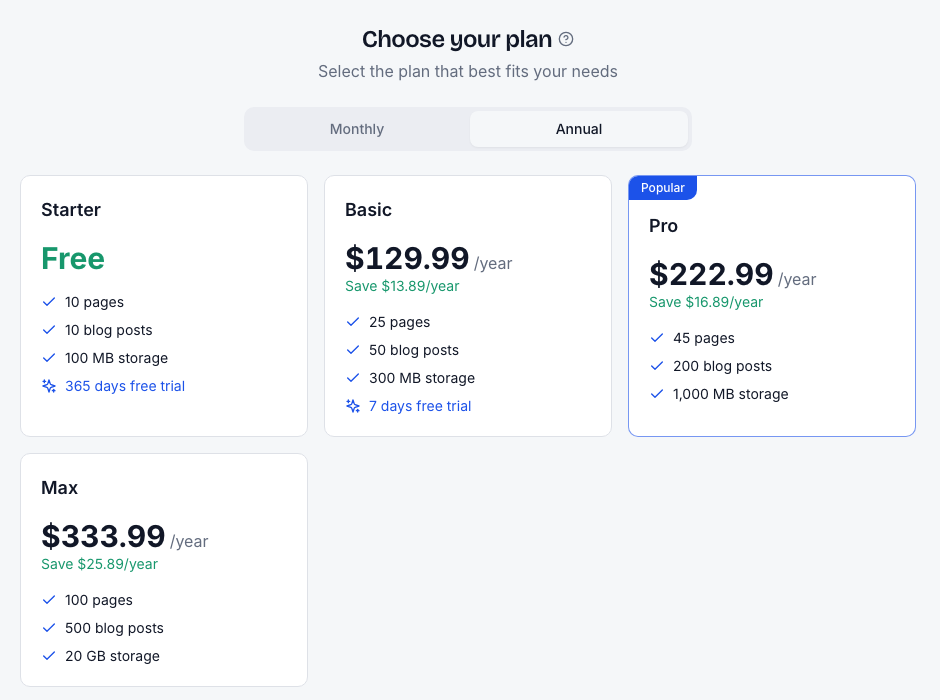
| Plan | Pages | Blog posts | Storage |
|---|---|---|---|
| Starter (free) | 10 | 10 | 100 MB |
| Basic | 25 | 50 | 300 MB |
| Pro | 45 | 200 | 1,000 MB |
| Max | 100 | 500 | 20 GB |
Prices and trial lengths are shown on the plan step itself and may change. A paid plan opens a secure checkout; you return to the wizard afterwards (screenshot not available).
Step 3: Template
Pick the design your site starts with. The first row is Recommended for the industry you chose; the chips filter by category, and Preview opens a full demo.
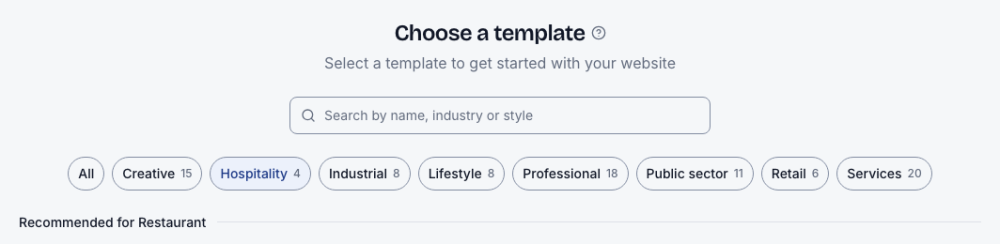
You can switch template later in Appearance without losing content.
Step 4: Info
Tell Webmarlin about the business. Every AI feature reads these answers, so a few honest sentences here give much better copy later.
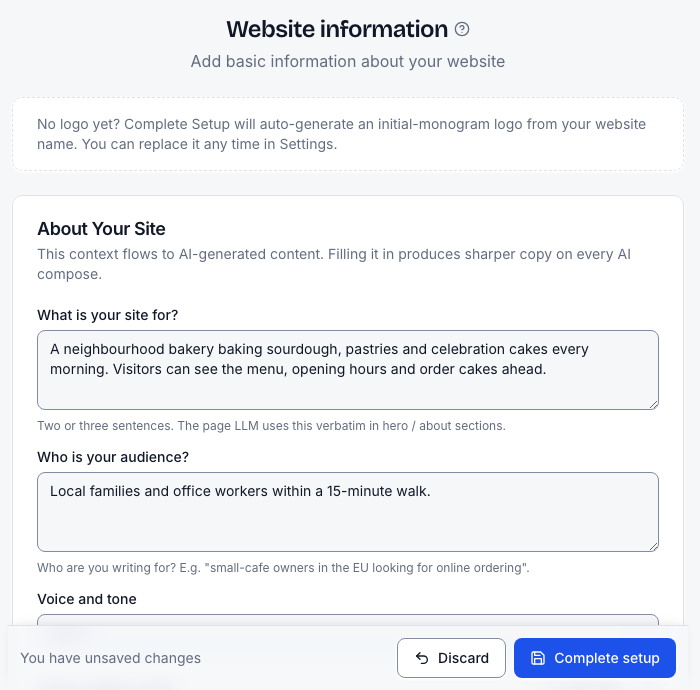
| Field | What to write (bakery example) |
|---|---|
| What is your site for? | "A neighbourhood bakery baking sourdough, pastries and celebration cakes every morning." |
| Who is your audience? | "Local families and office workers within a 15-minute walk." |
| Voice and tone | Warm |
| Products or services | One per line: sourdough loaves, croissants, celebration cakes |
| AI brief → Never | "Never claim gluten-free or vegan unless stated." |
No logo yet? Complete setup makes a simple monogram logo from the site name; replace it any time in Settings. Press Complete setup to finish, or Skip for now to fill this in later. (When AI site generation is switched on for your account, a last step offers Generate with AI or Start with a blank site.)
Your starter pages
A few seconds after setup, the site has Home, About, Services, Pricing, Contact and FAQ pages, published and in the main menu. They are filled with sample text (testimonials, stats, prices) so each carries a Needs review badge.
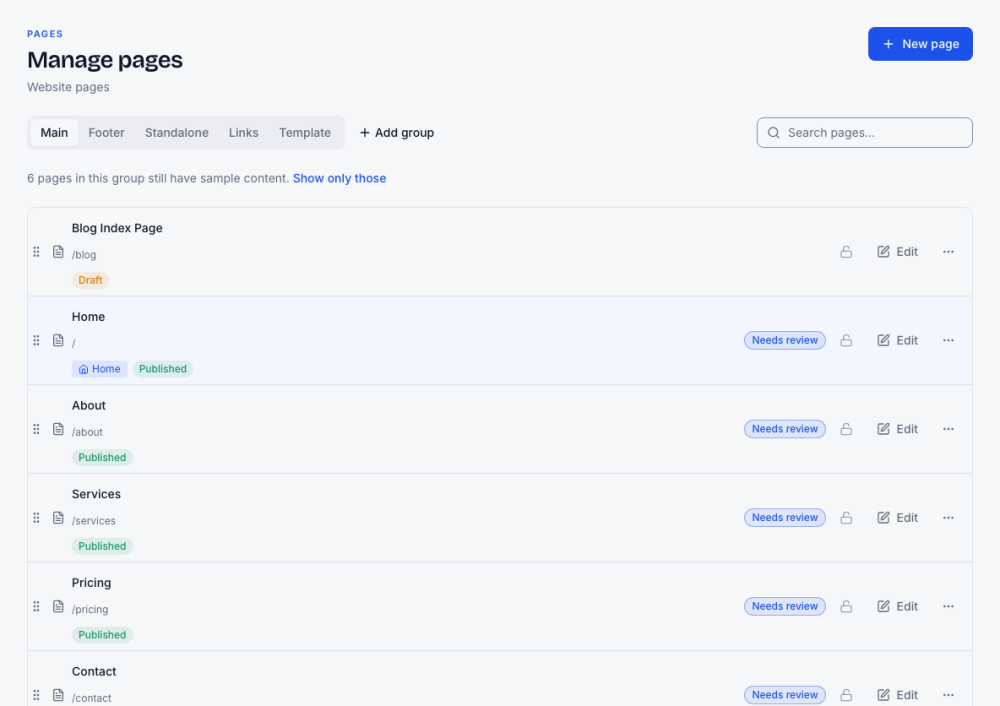
To clear a badge, either edit the page's content, or open the page's ⋯ menu and choose Mark as reviewed. Show only those filters the list to pages still waiting.
The dashboard
Each website has a dashboard with its counts, quick actions and a checklist.
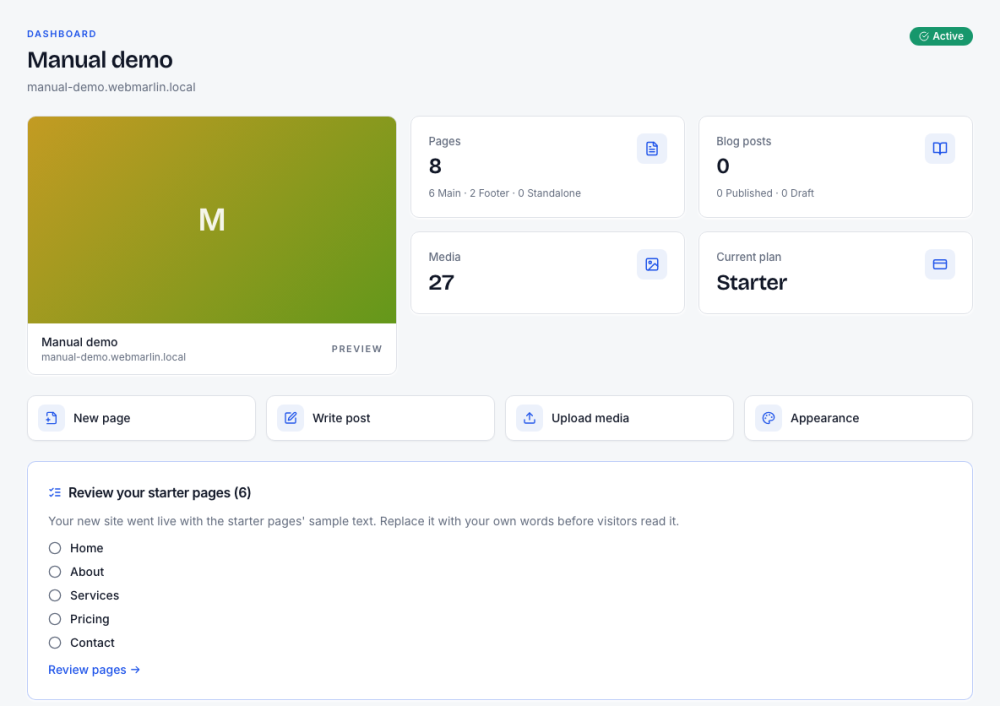
- Pages, Blog posts, Media, Current plan show what the site holds.
- New page, Write post, Upload media, Appearance are one-click shortcuts.
- Review your starter pages lists pages still carrying sample text.
- Continue where you left off reopens your latest drafts.
- Site health checks four things: site published, custom domain connected, blog has posts, storage under 80%.
- Usage shows storage and monthly visits against your plan.
The sidebar switcher at the top left moves between your websites. The top bar has Search (⌘K), Ask AI, the dark-mode toggle, your AI credits and the site-wide Publish button.