

Chapters
Browse all chapters
Getting started
Editing
Site & domains
Billing & account
AI
FAQ
Media library
Media holds every image and file on the site. The editor's image picker reads the same library, so an upload here is ready to use on any page.
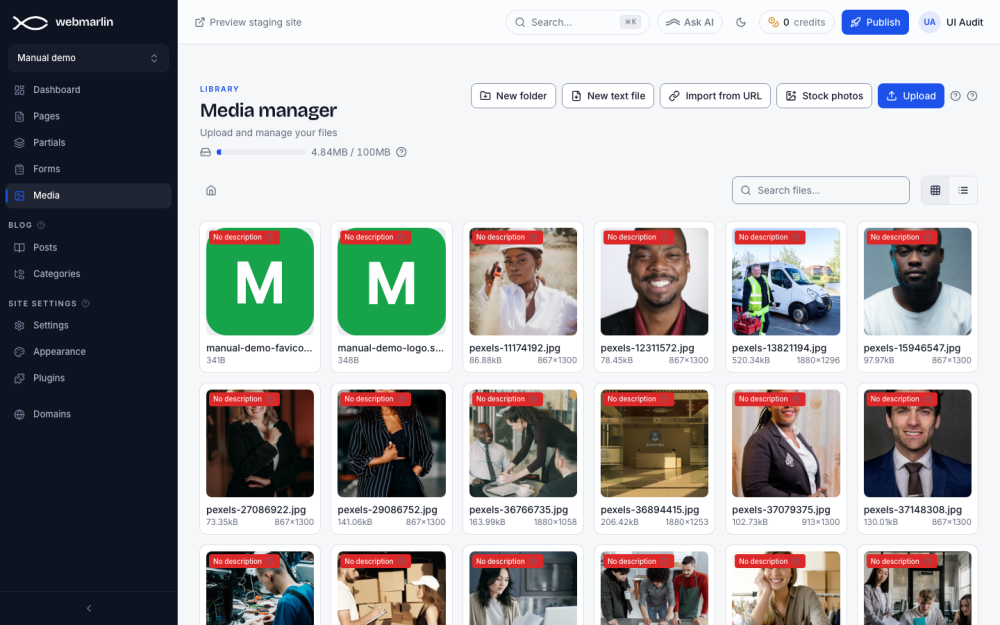
The bar under the title shows storage used against the plan (100 MB on Starter). Each upload can be up to 25 MB. Images can be JPG, PNG, WebP, GIF or SVG.
Add files
| Button | What it does |
|---|---|
| Upload | Pick files from your computer. You can also drag files anywhere onto the page. |
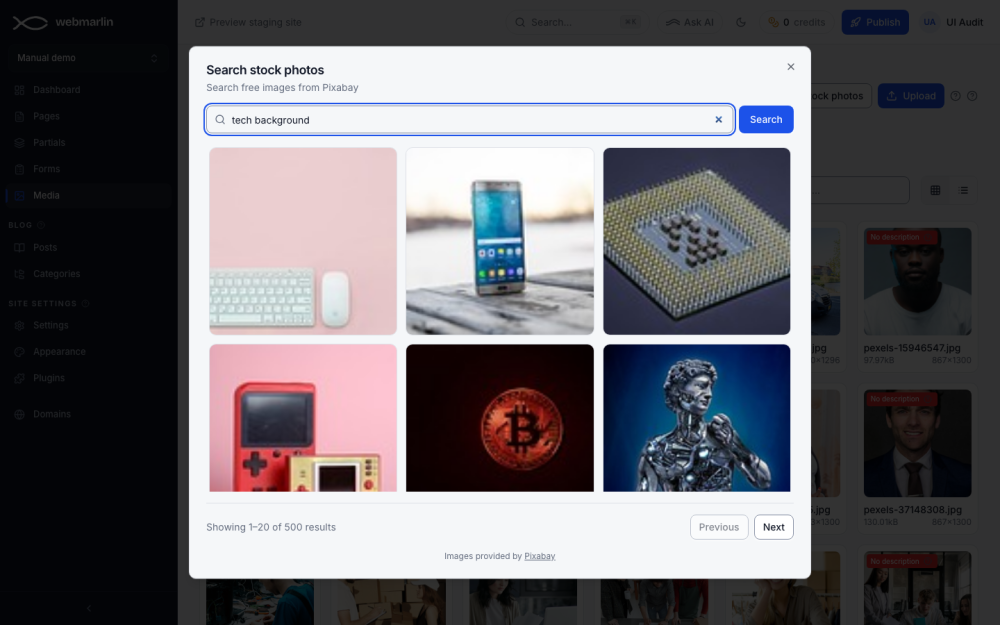
| Stock photos | Search free photos from Pixabay and Import one into the library |
| Import from URL | Paste the address of an image on the web; it is copied into the library |
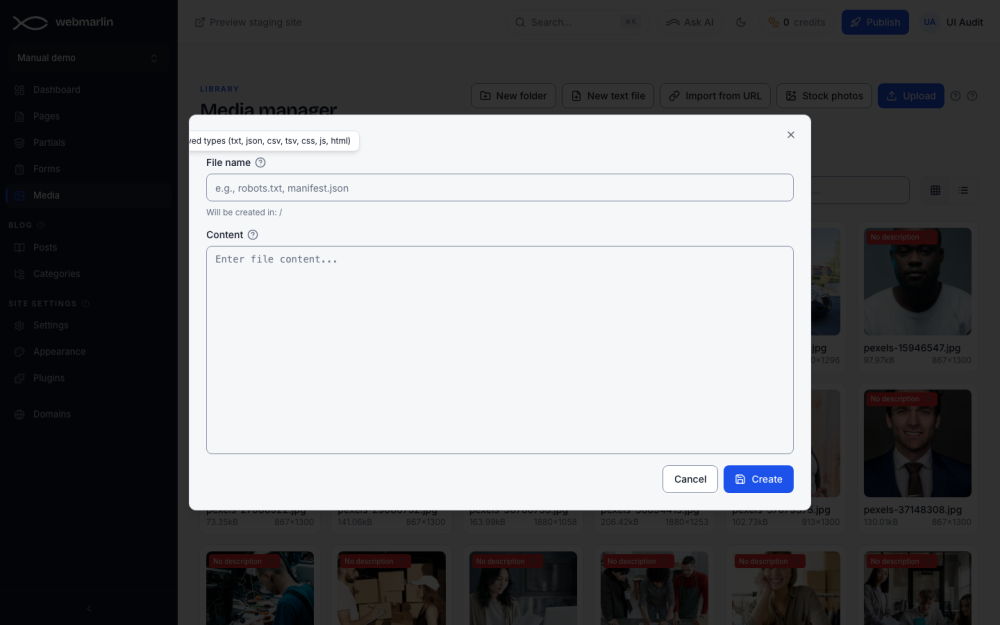
| New text file | Write a small text file (txt, json, csv, tsv, css, js or html, up to 4 KB) |
| New folder | Creates a folder inside the folder you are in |
On a phone these sit under one Add media menu. If a file is already in the library, Webmarlin reuses the existing copy instead of storing it twice.
Find and organise
- Search files filters the current folder by name. The grid and list buttons switch the view.
- Click a folder to open it; the house icon and the path go back up.
- Click a file to select it; Cmd+click (Ctrl+click on Windows) adds more files to the selection.
- Drag selected files onto a folder to move them there, or onto Back to move them up a level.
- Delete (n) in the toolbar deletes the selected files. Deleting cannot be undone and frees the storage.
Alt text, crop and details
Every image needs a short description for screen readers and search engines. Images without one show a red No description badge here and in the editor.
- Double-click the image, or open its ⋯ menu and choose View.
- Type the Description / alt text, for example "Sourdough loaves cooling on a rack".
- Press Save changes.
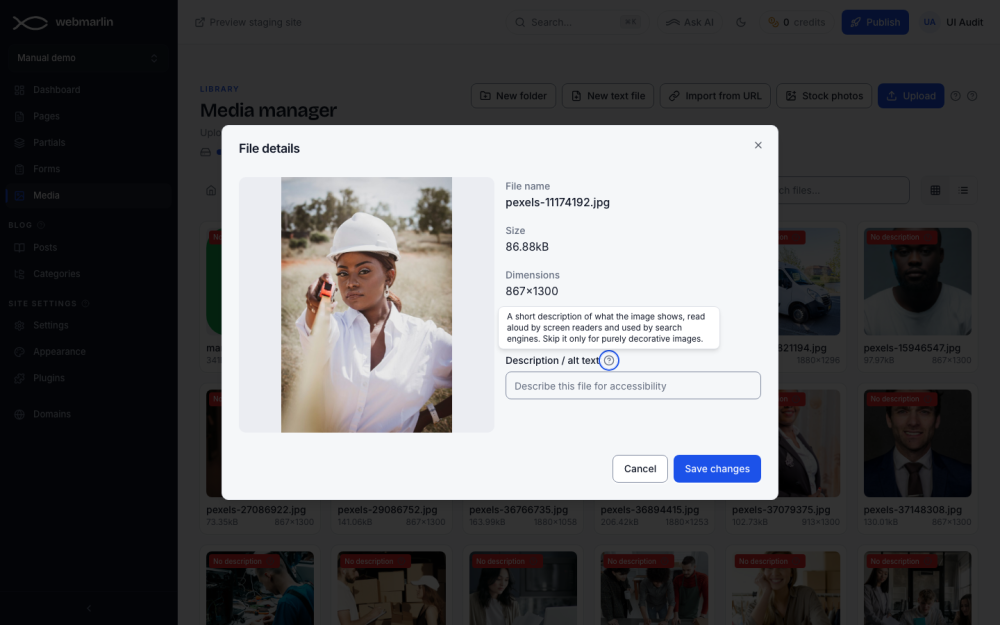
The ⋯ menu also has Crop (trims the image to the frame you draw) and Delete. Skip the description only for purely decorative images.