Chapters
Browse all chapters
Getting started
Editing
Site & domains
- Site settings
- Domains
- SEO and search
- Forms and submissions
- Shop
- Plugins and custom code
Billing & account
AI
FAQ
Help › Site & domains › Forms and submissions
Forms and submissions
Forms collect orders, questions and sign-ups from visitors. Every entry is stored under Forms, so nothing is lost even if an email goes astray.
Your forms
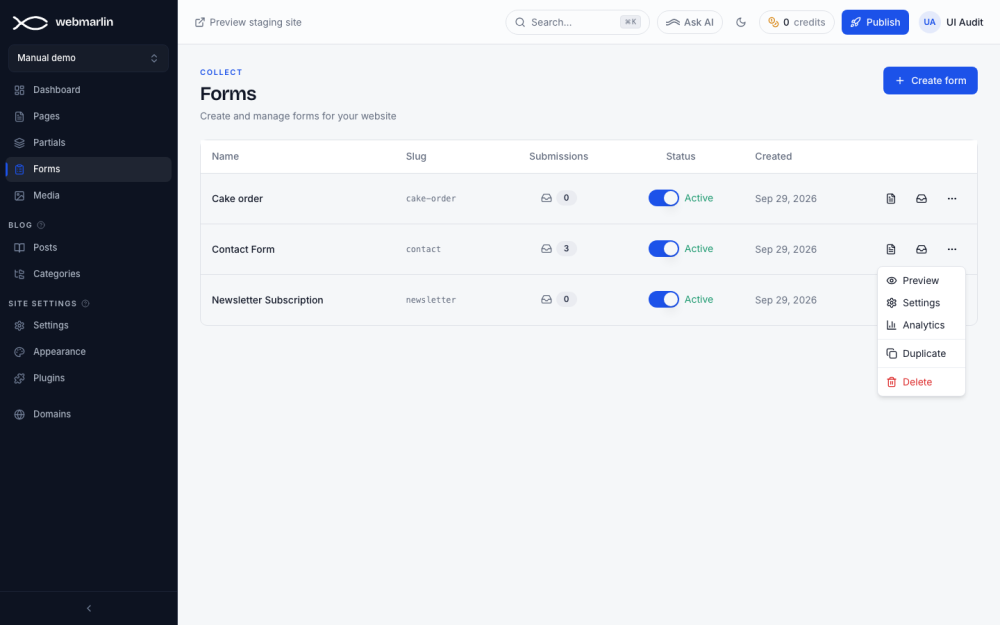
Forms lists each form with its slug, number of submissions, status and creation date. Click the submission count to read them.
| Action | Where |
|---|---|
| Switch a form off or on | The Active switch on its row. Switched off, visitors who send it get an error; saved submissions stay. |
| Edit fields | The form's name, or Edit |
| Preview, Settings, Analytics, Duplicate, Delete | The row's ⋯ menu |
Duplicate copies all fields and settings under a new name. Delete removes the form and all its submissions and cannot be undone.
Build a form
New sites come with a Contact Form and a Newsletter Subscription form. Build more in Forms → Create form.
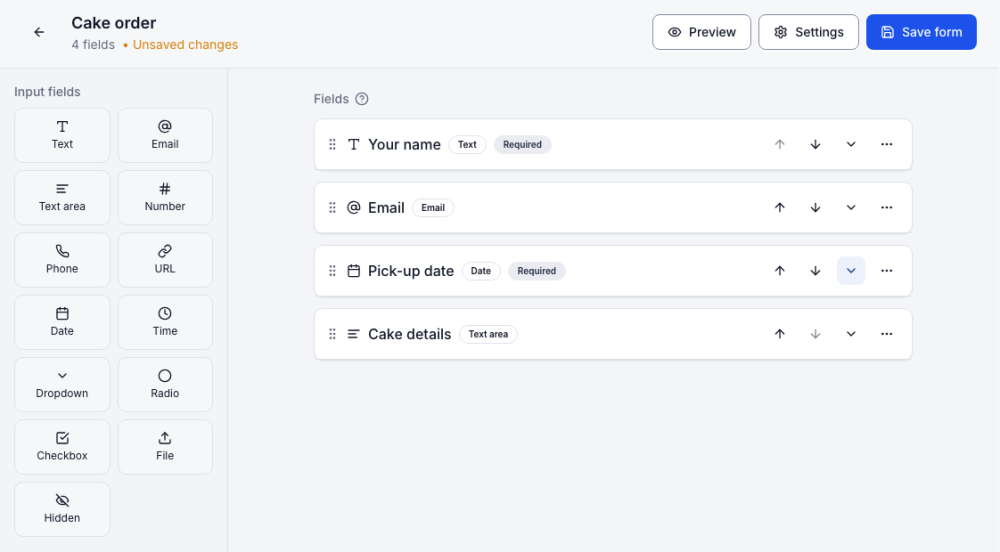
- Name the form, for example "Cake order", and press Create.
- Click field types on the left to add them: Text, Email, Text area, Number, Phone, URL, Date, Time, Dropdown, Radio, Checkbox, File, Hidden, or a Field group to group them under a title.
- Open a field (the arrow on its row) to set its Label, placeholder, help text, Required field and validation rules. Reorder with the arrows or the grip.
- Press Save form, then Preview to try it. A preview checks your answers but saves and sends nothing.
- Place it on a page with the Contact Form section (Add section → Forms) and pick your form.
Form settings
Settings for a form sets the success message or a page to redirect to, the submit button text and style, and whether the form is active. Two options are on paid plans:
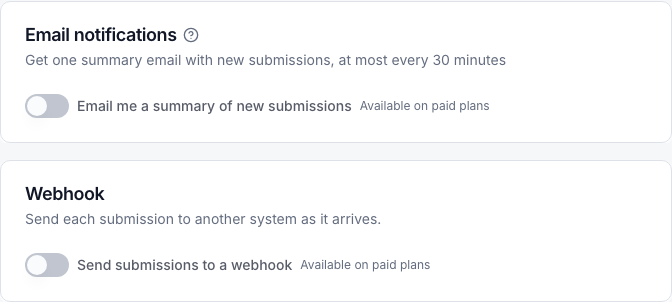
- Email me a summary of new submissions: one digest email, at most every 30 minutes, instead of one email per entry.
- Send submissions to a webhook: pushes each entry to another system (a CRM, a spreadsheet tool) as it arrives.
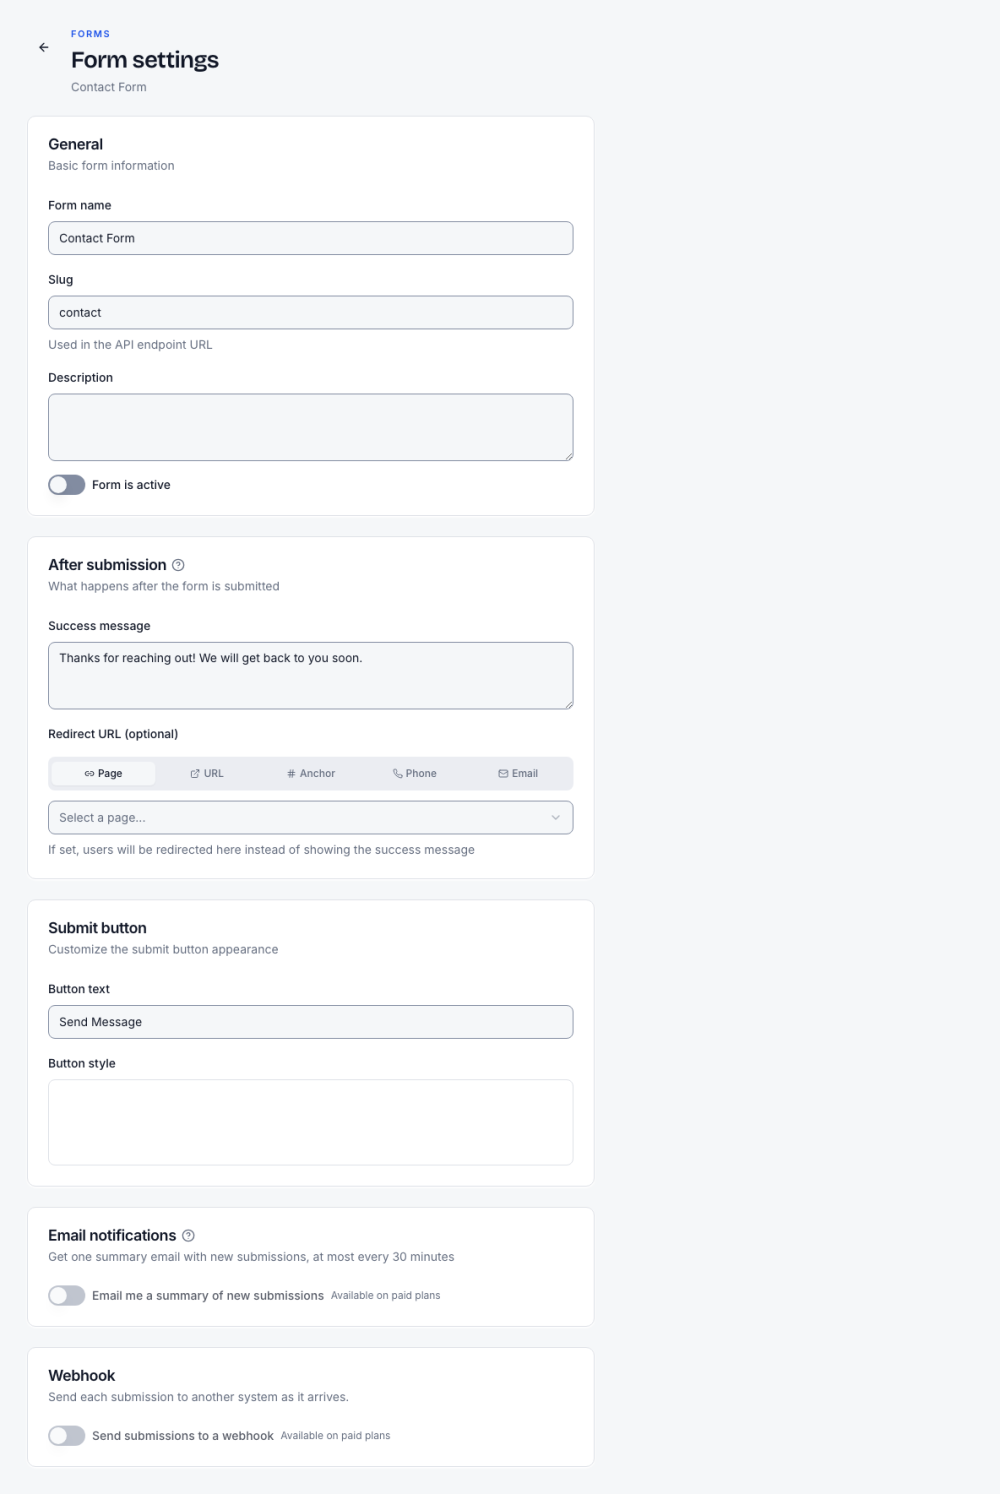
| Section | Fields |
|---|---|
| General | Form name, Slug, Description, Form is active |
| After submission | Success message, or a Redirect URL: a page, a web address, an anchor, a phone number or an email |
| Submit button | Button text and style |
| Email notifications (paid) | Email me a summary of new submissions and the address to Send to |
| Webhook (paid) | See below |
Changes show in a bar at the bottom of the page; press Save settings there.
Webhooks
A webhook sends each submission to another system (a CRM, a spreadsheet tool, Zapier) the moment it arrives. It needs a paid plan.
- Turn on Send submissions to a webhook.
- Enter the Webhook URL and choose POST or PUT.
- Optional: add Extra headers, such as an API key your system expects.
- Optional: press Generate for a Signing secret. Every request then carries an
X-Webmarlin-Signatureheader your system can check. - Optional: write a Body. Leave it blank to send the whole submission, or use
{{field.name}},{{submission.id}}and{{website.domain}}. - Choose whether to Send spam submissions too, then Save settings.
- Press Send test. The page shows the status your endpoint answered.
Read submissions
Submissions lists every entry. Search and filter, open one to read it, Mark as spam or Not spam, archive or delete in bulk. Analytics charts submissions per day or week.
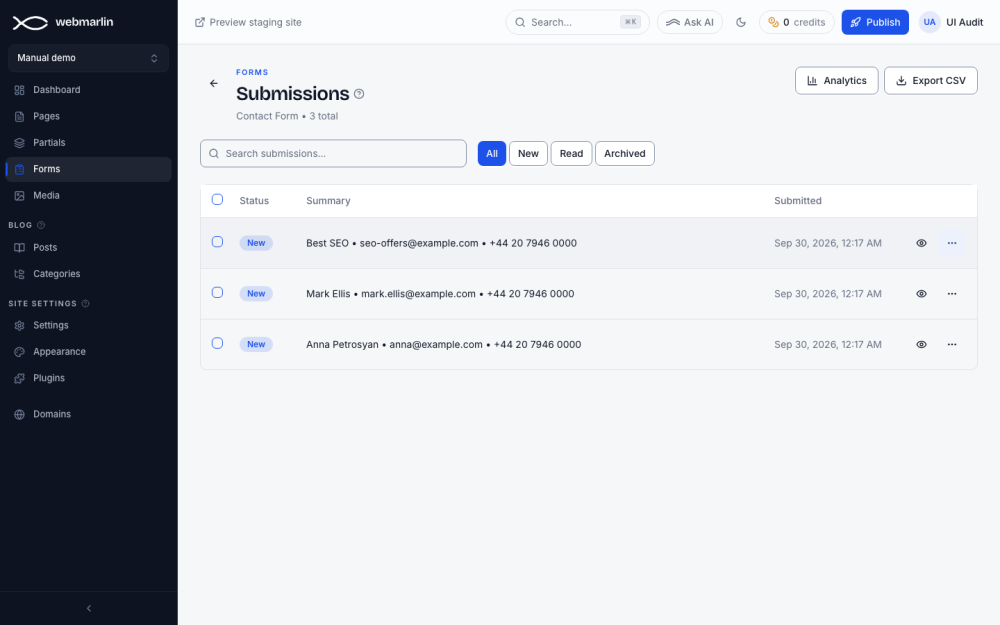
- All, New, Read and Archived filter the list. On paid plans a Spam filter holds entries flagged as spam; spam never shows under the other filters.
- Tick rows to Mark as read, Archive or Delete several at once.
- Export CSV downloads the submissions as a spreadsheet file.
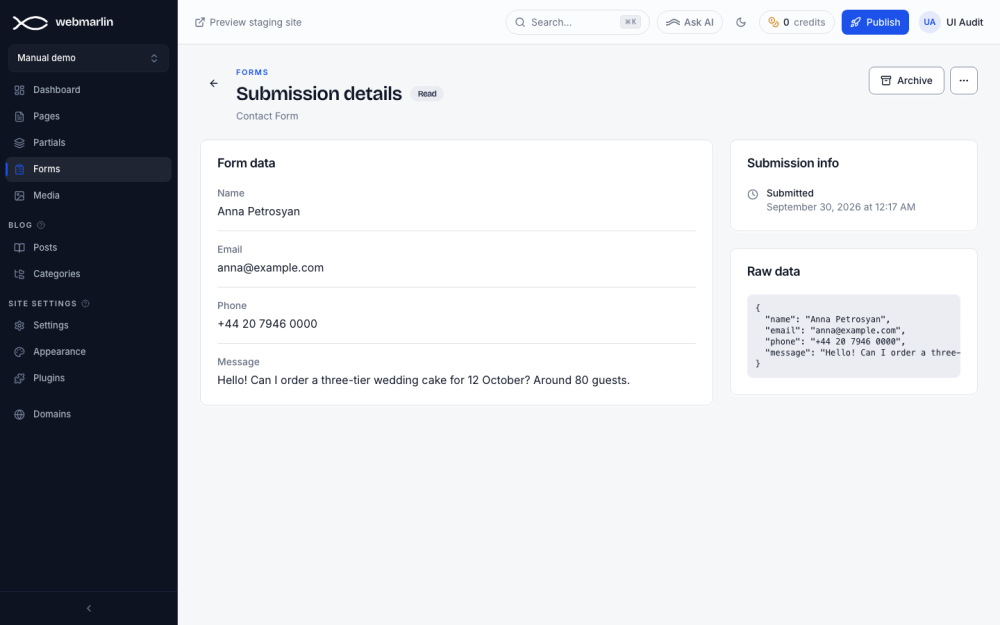
Opening a submission marks it Read. The page shows the answers, file uploads with Download, when it was sent, and the raw data. On paid plans it also shows the spam score and reason, and each Webhook delivery attempt with its result and timing.
Analytics
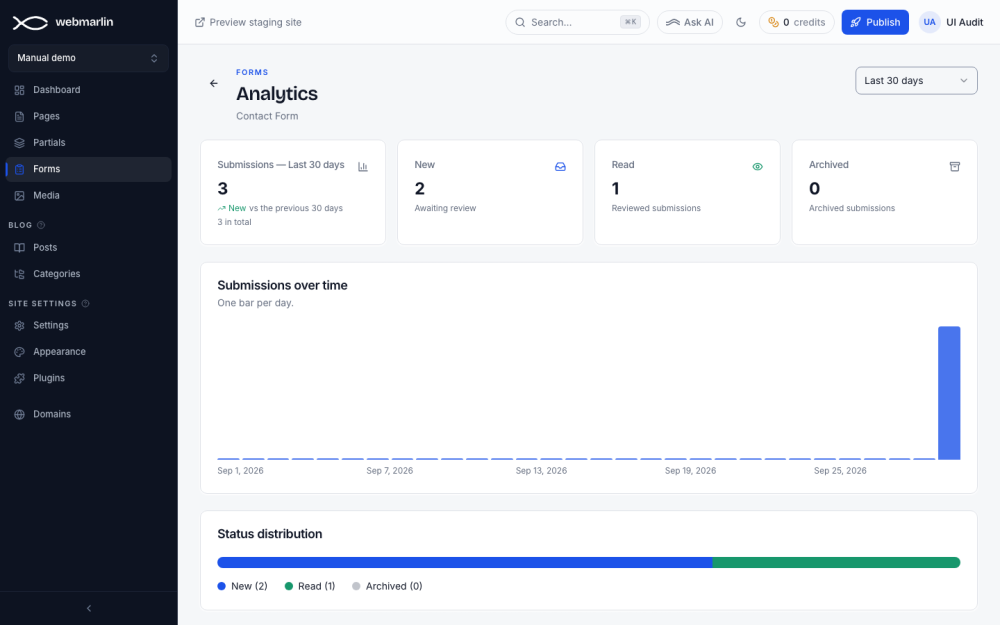
Analytics counts submissions for a date range: the total against the previous period, and how many are new, read and archived. The chart shows one bar per day (per week for long ranges).